An eCommerce website is a major platform for the global retail market.
Other than giant online shopping platforms like Shopee or Lazada, local marketplaces also contribute to the rising numbers.
Not to mention, creating an eCommerce website for your products has never been easier! All you need to do is find a suitable eCommerce platform and you’ll be guided thoroughly afterward.
Our favorite go-to eCommerce platform is WordPress. So if you’re contemplating using WordPress, here is a guide for you to become one of the top eCommerce sites.
Is WordPress good for eCommerce?
Roughly 1/4 websites use WordPress as their content management system. Not only is it user-friendly, but there are also so many plugins for added functionality.
Basically, WordPress already has plenty of online store themes that you can choose from. It also features plugins from product display to checkout.
So to answer your question, WordPress is really useful when creating an eCommerce shop. Let’s get into how to create an eCommerce site using WordPress.
How to create an online store with WordPress?
- Pick a Domain Name
- Choose a Hosting Provider
- Select eCommerce Plugin
- Install Woocommerce
- Set Up Product Pages
- Put in Payment Gateway
Step 1: Pick a Domain Name
The first step in setting up a WordPress eCommerce store is to choose a domain name. This will be your website’s address in the future. To access a website, type the domain name into the address bar of your browser.
Although WordPress is free, you will have to pay for your domain name, which starts at RM50 a year. It’s well worth the money because having your own domain name (i.e. yourbusinessname.com) looks a lot more professional than having a free domain name on someone else’s (i.e. yourbusinessname.otherdomain.com).
Step 2: Choose an eCommerce Website Hosting Provider
You’ll also require a hosting service to host your website on the Internet, also known as a hosting provider.
If you select a dedicated hosting provider, you can be confident that your website will load quickly and won’t be offline for long periods of time.
Moreover, you can choose between a shared and a dedicated host. A shared host puts your website on the same server as multiple other websites, which is less expensive but you’ll have less control over your website and possibly less storage and bandwidth.
A dedicated host, on the other hand, is more costly but provides you with an entire server dedicated to your website, as well as a lot of control, storage, and bandwidth.
After you’ve secured your domain and hosting, you may install WordPress in one of two ways:
One-click install
With the one-click install, you’ll register your domain name and have your WordPress site hosted by the same provider. However, your host should be able to support PHP 7, MySQL 5.6+ or MariaDB 10.0+, and HTTPS, according to WordPress.
You can also use WordPress-approved hosting providers to simplify installation and ensure that your selected server is supported. For example, Pressable, BlueHost, Dreamhost, and Flywheel, and SiteGround are all recommended by WordPress.
Manual install
With the manual option, you manually set up a server, then install and configure the WordPress platform on it. You will also need An FTP client, a database set up with cPanel or phpMyAdmin, and access to your web server.
So, only expert users should utilize this feature. Not to worry, WordPress provides lots of assistance to help you get started.
Step 3: Select eCommerce Website Plugin
The way you sell things directly from your WordPress eCommerce website will set it apart from a typical WordPress website. Because there are no native eCommerce website features in WordPress, you’ll need to install an eCommerce plugin to bring this capability to your site.
Since Automattic acquired WooCommerce two years ago, it has grown from a simple eCommerce plugin to a full platform with its own plugin system. It’s a flexible platform that provides you complete control over your WooCommerce storefront.
Moreover, WooCommerce WordPress is used by about 30% of all online companies. For example, local businesses that use it include Kantan Food and Three Sisters.
Additionally, WooCommerce comes with a full eCommerce backend that allows you to create and organize product pages, as well as a shopping cart and payment gateway.
Although it’s free to use, you may enhance its capabilities with a variety of premium plugins. Extensions can do everything from providing AI-driven recommendations to clients on product landing pages to enabling planned groups and daily promotions that kick in when a certain amount of people buy something.
Step 4: Install Woocommerce
Now it’s time to install an eCommerce plugin via the WordPress backend for your WordPress site. If you’ve chosen WooCommerce, here are the steps:
-
- Go to your WordPress dashboard and log in.
- Go to the Plugins section in the sidebar and select “Add New.”
- Type “WooCommerce” into the search field and press Enter.
- On WooCommerce by WooThemes, click “Install Now.”
If you’re still seeking a hosting provider, collaborate with eDesign.my. We provide an all-in-one WordPress eCommerce website design and eCommerce website development setup package that includes a domain name, WordPress with WooCommerce pre-installed, and SSL certification to keep your online store safe.
Need website conversion tips? Read 6 Simple Ways to Effectively Increase Your Website Conversion Rate.
Step 5: Set up Product Pages
Now that your plugin is installed, you can begin adding products and their product pages. We’ll go over the processes for accomplishing this in WooCommerce.
Every product you add must at the very least have the following features:
-
- Image
- Product name
- Price
- Brief description
Begin by going to your WordPress admin panel and clicking on “Products” in the sidebar, then “Add Product”. Fortunately, you can use WooCommerce to create a store that sells both physical and virtual goods.
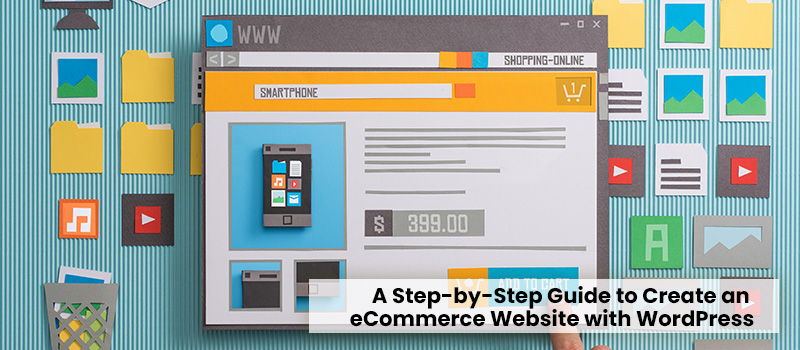
Step 6: Payment Gateway for eCommerce Website
Payment is the final step in any WordPress eCommerce setup, just as it is in the shopping process, both online and offline. Customers must be able to make payments on your eCommerce site.
Payment gateways function as a middleman between you and your customer which handles the majority of shopping cart solutions and online retail financial transactions. We recommend using SenangPay for easier checkout.
When a customer completes a transaction on your site, they are taken to the payment gateway’s website to provide financial information or sign in to their account.
Money is safely transferred from the customer to the payment gateway, which then deposits the funds into your merchant account.
Thankfully, WooCommerce supports a broad range of additional payment gateways. Plus, adding them is as simple as going to the Payment Gateways area of the WooCommerce Extensions shop and selecting the gateway you want.
Luckily, you can either choose payment gateways that are either free or comes with a fee.
You’ll need an SSL certificate to use the majority of payment gateway capabilities. This protects all transactions, and hence financial information transfers, between you and your customer from the prying eyes of hackers.
For a cost, your hosting company can usually offer an SSL certificate that is certified by the Malaysian Government.
Build a Value-driven eCommerce Website in Malaysia
Rather than risking failure or taking too long to figure it out, we are the eCommerce development company that can help you accomplish the highest CRO possible.
But first, fill out the form below and we’ll get you a quote as soon as possible!
